
My command line environment is where I spend a big chunk of my time as a developer. I have noticed a big boost in efficiency by taking some time to customize my command line environment and powershell profile.
Skip to the meat and potatoes of this post, the My powershell profile section, here.
Skip to the setup section here.
Tools used
ConEmu
ConEmu is the terminal I use. I would prefer to use Windows Terminal but my work computer is not on a new enough build of Windows 10 to use it :(. Main reason I picked ConEmu is because it seemed to be the base that a lot of popular terminals are built on top of and it allows tabbing of shells. ConEmu is highly customizable and tons of features but I don’t take advantage of much of it.
Powershell
For my shell I use Powershell 5.1, the default version on Windows 10. I have become very comftorable with powershell and find automating things a breeze and fun with powershell.
Posh-git
Posh-git is a must have powershell module for git. It provides a bunch of really important info at a glance in the command line when in a git repo.
Side note related to must have git add-ons is the one and only git GUI I like. It is a nice lightweight VsCode extension called GitGraph.
Setup
ConEmu
Download and install ConEmu here. First thing I did was to modify one of the Predefined tasks. Speifically the {Shells::Powershell (Admin)} task and set it as the startup task. The modification and setting of startup task is all done in the settings. This is what my startup task looks like.
1
2
3
powershell.exe -new_console:a
powershell.exe -new_console:s50V
powershell.exe -new_console:as50H
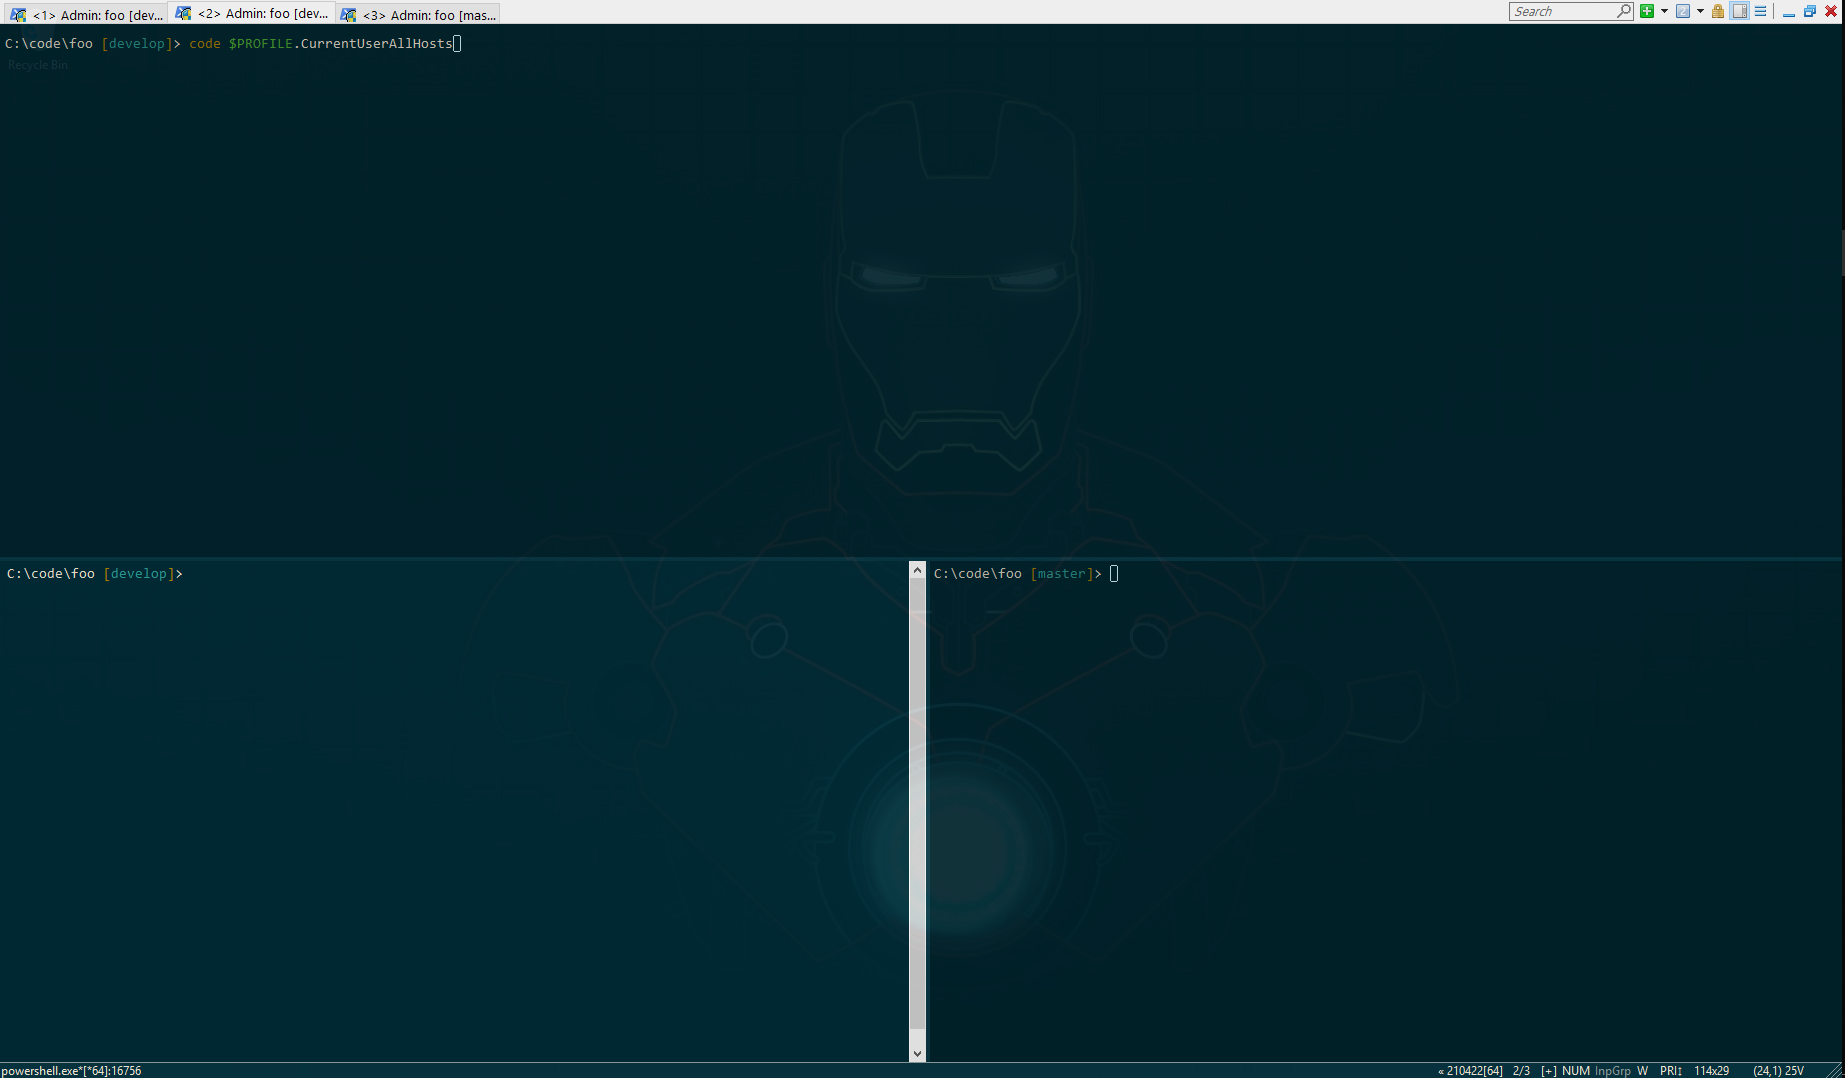
What I have here is a base command powershell.exe -new_console:* which creates a new powershell shell with some addtional arguments. The first line uses the a argument to create the shell as admin. The second line uses s50V which translates to split the current panel (s) by 50% (50) vertically (V). The third line uses as50H which translates to run as admin (a) split the current panel (s) by 50% (50) horizontally (H).
The end result can be seen in the main image above.
Posh-git
The github readme has really good installation instruction as well as alternatives installation/setup options to what I will provide below.
Run the following 3 commands. The following installs via powershell gallery, imports the module, and then adds the module to your powershell profile. Install it via powershell gallery.
1
2
3
PowerShellGet\Install-Module posh-git -Scope CurrentUser -Force
Import-Module posh-git
Add-PoshGitToProfile -AllHosts
NOTE: If you’re asked to trust packages from the PowerShell Gallery, answer yes to continue installation of posh-git
My powershell profile
Customizing my powershell profile is really where I have increased my dev workflow efficiency. The powershell profile is essentially just a powershell script that runs when you open a new powershell shell. What I have done is created a bunch of little cmdlets, basically global functions, I can run at anytime in any powershell shell.
To get started what I do is run $PROFILE.CurrentUserAllHosts this will tell you the file path for your profile. Go ahead and open it in your favorite text editor and if it doesn’t exists create it.
Switching directories like a ninja
Something I do a lot is switch between code repositories. A lot of the code repos I work with have long names which means a lot more keystores than I would like just to switch between repo directories. So I created some aliases. Here is an example of what I put in my profile.ps1:
1
2
3
4
5
6
function Set-ShuttleCodeLocation {
    Set-Location D:\code\space-shuttle-controller
}

# Use New-Alias over Set-Alias https://stackoverflow.com/a/48093733
New-Alias -Name ShuttleCode -Value Set-ShuttleCodeLocation
Now any powershell session I start I can just type ShuttleCode and it will change my directory to my shuttle code repo’s directory. To save even more keystrokes you can take advantage of powershell auto complete and just type shu followed by TAB and powershell should auto complete to ShuttleCode.
Clean a project folder
Every now and then we want to clean up all bin and obj folders because something isn’t working correctly.
1
2
3
4
5
6
7
8
<#
   This will recursively remove all bin and obj folders in the current directory.
#>
function rmBinAndObjs {
    # Commented out is the shorthand version
    # ls -include bin,obj -r | %{rm -r -Force }
    Get-ChildItem -Include bin,obj -Recurse | ForEach-Object { Remove-Item -Recurse -Force $_.FullName }
}
Some git cmdlets
Yes, I know I could probably do this with git aliases but for non trivial git commands I feel less constrained with powershell.
This first set of cmdlets is useful for working with those files that are checked into git, and get modified locally but we don’t want them showing up in our local set of modified files in git. Usually this is useful with config files.
1
2
3
4
5
6
7
8
9
10
11
12
13
14
15
16
17
18
19
20
21
22
23
24
25
26
27
function Hide-FileFromGit {
    [CmdletBinding()]
    param(
        [string]$FileName
    )

    # Don't show file in changes
    git update-index --skip-worktree $FileName
}

function Show-FilesHiddenFromGit {
    [CmdletBinding()]
    param(
        [string]$FileName
    )
    # List files you are skipping
    git ls-files -v . | sls ^S
}

function Undo-HideFileFromGit {
    [CmdletBinding()]
    param(
        [string]$FileName
    )
    # Undo skip file
    git update-index --no-skip-worktree $FileName
}
This cmdlet is a convenient way to create a new branch from latest version of master and publish it to the remote repo. You may notice the [Parameter(Mandatory)] attribute on the $NewBranchName parameter. This is a really cool feature that makes it so that if you run this cmdlet without providing that parameter powershell will auto prompt you for the paramter value before proceeding.
1
2
3
4
5
6
7
8
9
10
11
12
13
14
15
16
17
18
19
20
21
22
function Publish-GitBranch {
   [CmdletBinding()]
   param(
      [Parameter(Mandatory)]
      [string]$NewBranchName,
      [string]$BaseBranch = 'master'
   )
   try {
      $currentBranch = git rev-parse --abbrev-ref HEAD
      if ($LASTEXITCODE -ne 0)  { throw "You must be in a Git repository" }

      Write-Output "git checkout $BaseBranch"
      git checkout $BaseBranch
      Write-Output "git pull"
      git pull
      Write-Output "git checkout -b $NewBranchName"
      git checkout -b $NewBranchName
      Write-Output "git push --set-upstream origin $NewBranchName"
      git push --set-upstream origin $NewBranchName
   } finally {
   }
}
I have a lot more stuff in my powershell profile but is essentially just variations on what I’ve already shown above but more tailored to my specific work environment.
Conclusion
I found the majority of my increase in efficency came in customizing my powershell profile to automate a bunch of repititve tasks that saved me keystrokes and little google searches for commands throughout the day. Using something like conemu over powershell I think makes the screen more pleasing to look at, also the multiple shells at a glance using split panels is very useful in many scenarios. Using posh-git is just a must have for anyone using git on windows I would take that and powershell any day over the windows git bash terminal.
If you have any comments or questions reach out on Twitter @Omarr2d2.